Crochet DIY: Pumpkins!
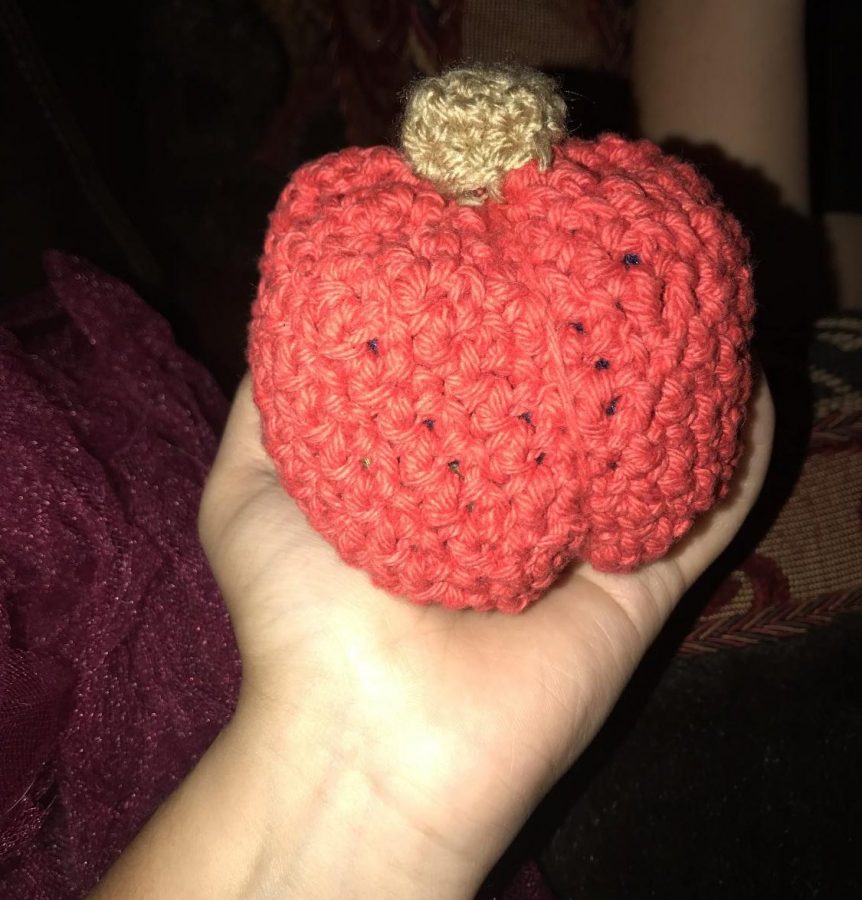
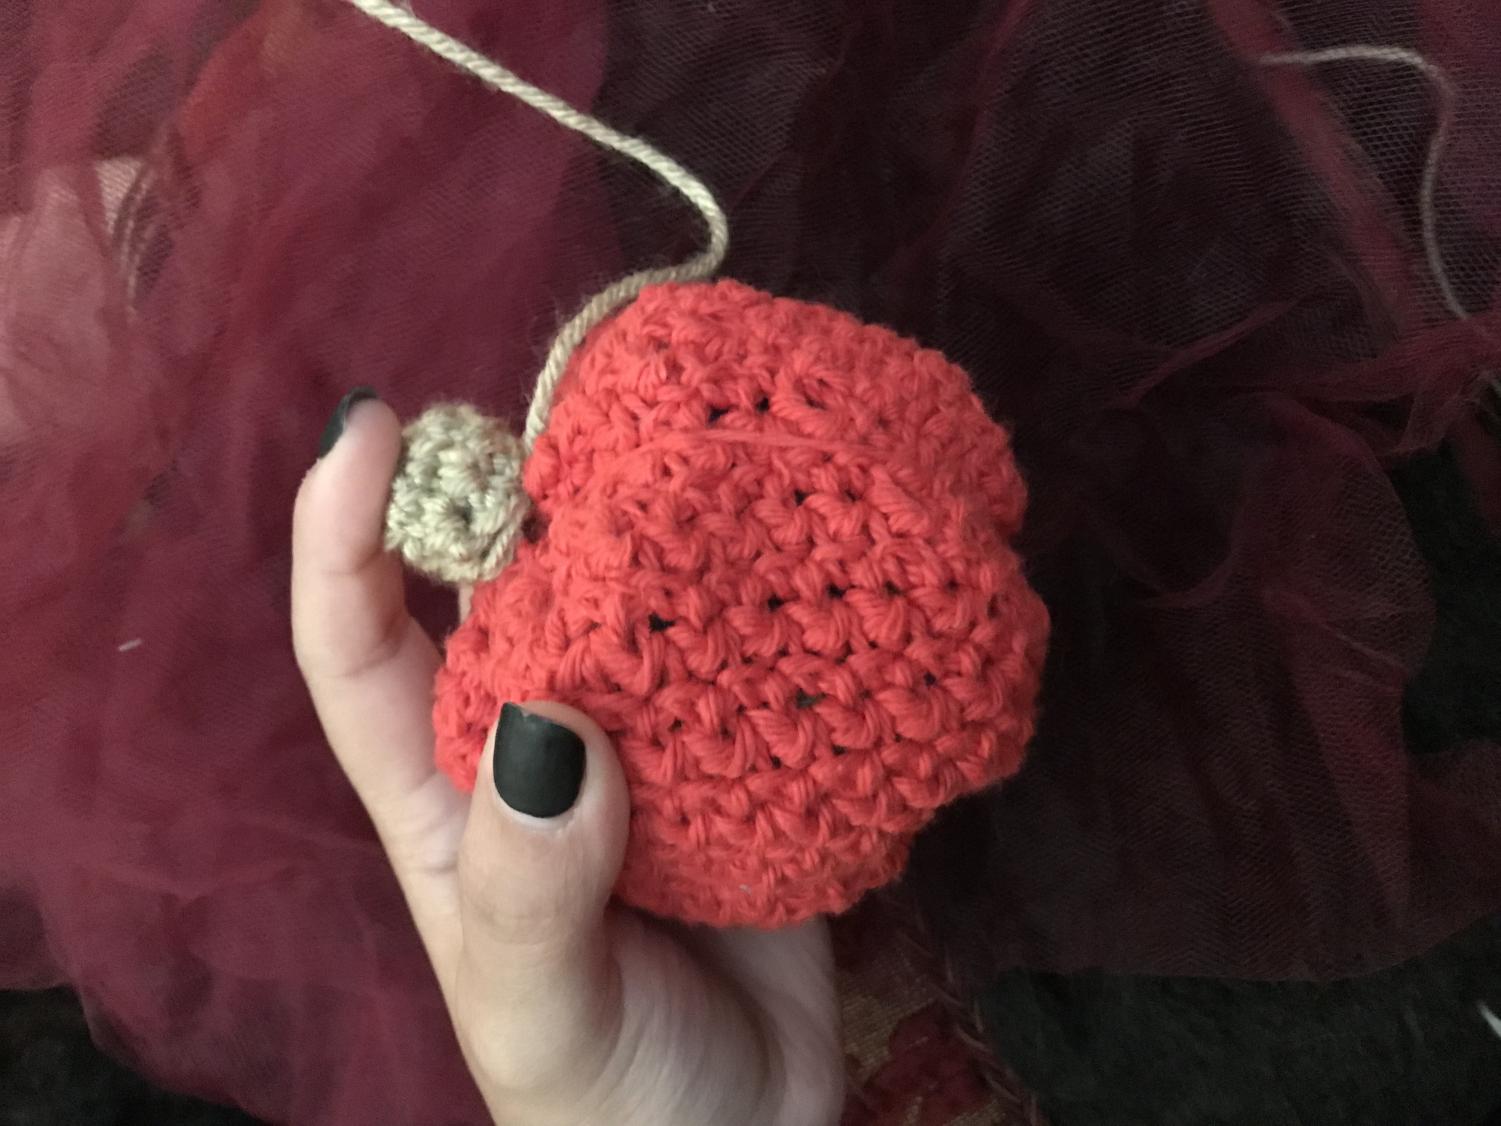
Before we begin, you can use any color of yarn but be warned: I used a red-orange color and my pumpkin unfortunately looks like an apple. Don’t make that same mistake. I found this free pattern on Pintrest, it is not of my own. I personally made the small pumpkin.
Materials:
- Any color of yarn and any material (acrylic or cotton) depending on how tight or loose you crochet, you will need roughly 92 yards to make the largest pumpkin
- Dark Brown worsted weight for the stem
- G/ 4.00 mm Hook
- Poly-Fil Stuffing
- Scissors
- Yarn Needle
Abbreviations:
- Chain-ch
- Stitch- st
- Slip Stitch- sl st
- Single Crochet- sc
- Double Crochet- dc
Note: The beginning chain 2 is not to be counted as a stitch
Small Pumpkin:
Round 1: Chain 30, join to first ch (be careful not to twist)
Round 2: Ch 2, * dc, sc, repeat from * around, sl st into first dc, and turn (30)
Repeat round 2 until you have 16 rows, fasten off and leave a long tail.
Medium Pumpkin:
Round 1: Ch 50, join to first ch ( be careful not to twist)
Round 2: Ch 2, *dc, sc, repeat from * around, sl st into first dc, and turn (50)
Repeat round 2 until you have 20 rows, fasten off and leave a long tail.
Large Pumpkin:
Round 1: Ch 50, join to first ch ( be careful not to twist)
Round 2: Ch 2, *dc, sc, repeat from* around, sl st into first dc, and turn (50)
Repeat round 2 until you have 25 rows, fasten off and leave a long tail.
Stem:
Round 1: Magic circle, ch 1, 4 sc in the ring, sl st into the first sc
Round 2: Ch 1, 2 sc in each st, sl st into first sc
Round 3-5: Ch 1, sc around
Fasten off and leave a tail to sew onto the pumpkin
 Assembly:
You should have a sleeve so to speak. Now you will sew it up, stuff the pumpkin, make the indention’s of the pumpkin, and attach the stem.
- Use a seperate piece of yarn to sew up the bottom of the pumpkin, you’ll weave in and out the bottom stitches all the way around
- Pull it tight and tie it off. You can hide the tail inside the pumpkin
- Fill with Poly-Fil until you feel it looks good enough.
- Use the long tail to weave in and out of the top of the pumpkin, before you cinch tight add more stuffing as needed. Knot the yarn but don’t cut it off just yet.
- Take your yarn tail and insert it in the bottom of the pumpkin (making the groves of the pumpkin) and pull up through the center of the top of the pumpkin. Repeat 6 times for 7 total grooves.
- Sew the stem on the top (you may use a tad bit of Poly-Fil for it to stand up) to cover the cinched top of the pumpkin
Make sure all of your ends are tucked and you’re done!